I have done a double width weaving project! It was a bit hard at the beginning, but it became easier and more fun later. I think that my next double weaving project will go more smoothly. I’ll write down what I did, because it might help others as well!
Materials
I used the following materials:
- Ashford SampleIt loom (10″/25cm)
- Two 40/10 heddles (10 epi)
- 2 pick up sticks (28 cm works best)
- Rico Design Essentials Cotton DK in 80 White
- Rico Design Essentials Cotton DK in 40 Dark Teal
Warping
I warped my loom with two colours of cotton. I made a calculation mistake because of which I needed to start again and then I caused a huge yarn mess that I had to cut off… but in the end I had managed to warp the loom. There may be easier ways, but this is how I did it:
- Put the two heddles in neutral position.
- Direct warp each slot twice (4 threads in each slot), and pull the threads through both heddles.
Every slot now contained 4 threads in both heddles. I warped such that both layers would contain groups of 4 threads of each colour: I threaded two slots with one colour, then two with the other colour, etc. I was making a sampler, so my warp was only about 1.5 meters long. I used all the slots of the heddle.
Threading the heddles
Next I had to make sure that all threads were going through the two heddles correctly. I used the picture below to find out which thread goes where.
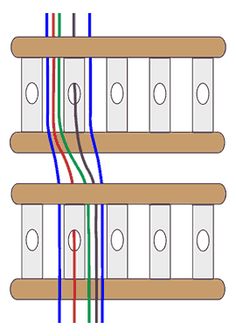
I did this as follows:
- Starting on the right side, work in groups of four threads (all threads in one slot).
- Pull the four threads out of the slot.
- The right-most thread goes through the slot to the right.
- The next thread goes through the hole in the back heddle, then through the slot to the right in the front heddle.
- The next thread goes through the original slot in the back heddle and through the slot to the right in the front heddle.
- The last thread goes through the original slot in the back heddle and through the hole in the front heddle.
- The slot where the threads were in originally now contains 2 threads in the back heddle and 0 threads in the front heddle.
- Repeat from step 2, moving from right to left.
My heddles were slightly flexible sideways, so I just moved them a bit to line up the proper holes/slots and pulled the threads through in one go each.
I tied the threads to the apron rod in groups of 16 and was ready to weave. Or so I thought. It took so long warping the loom that it was bed time already!
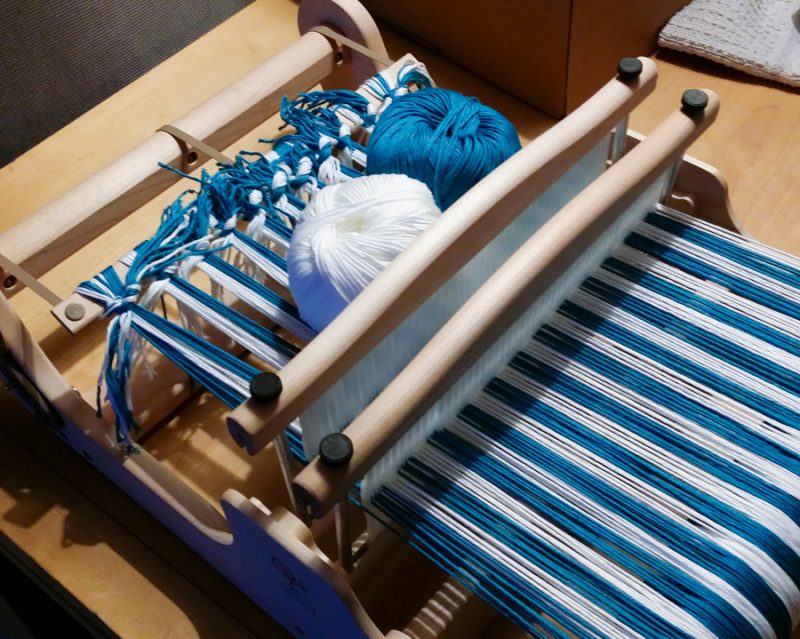
The next day we had a company outing to an escape room in Amsterdam (fun!), so no time for weaving. The day after that I was in a work-related training (XML/XSLT/XPath), so again, no time for weaving. On Thursday I could finally start! And then I found out that one of my pick up sticks was really very short. One was 28 and the other was 26 cm. My Ashford SampleIt loom has a weaving width of 25 cm, so the 26 cm one was very tricky to use. I ordered a longer one and tried to make do for now.
Adding the pick up sticks
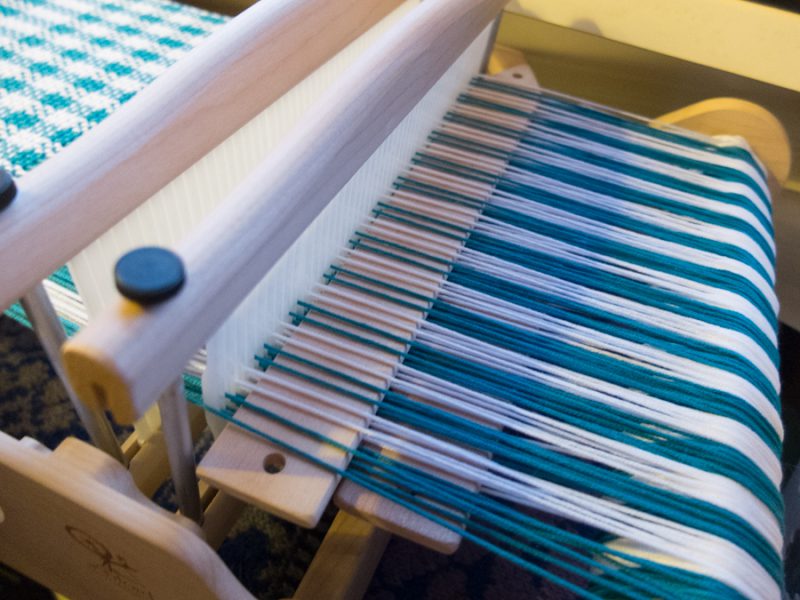
The pick up sticks manage the threads in each layer that don’t go through any holes, and that are not controlled by the heddles because of that. I set up the pick up sticks as follows:
- Put both heddles in down position.
- With pick up stick A, pick up every other thread (the ones that don’t go through a hole in either heddle). There are many threads, so it may be a bit hard to find the right one sometimes.
- Put both heddles in the up position.
- Slide pick up stick A forward and put it on edge.
- Insert pick up stick B into the narrow bottom shed. This one was the hardest. I missed some threads at first, but in the end I managed to get both pick up sticks into the right position. Phew!
Weaving sequence
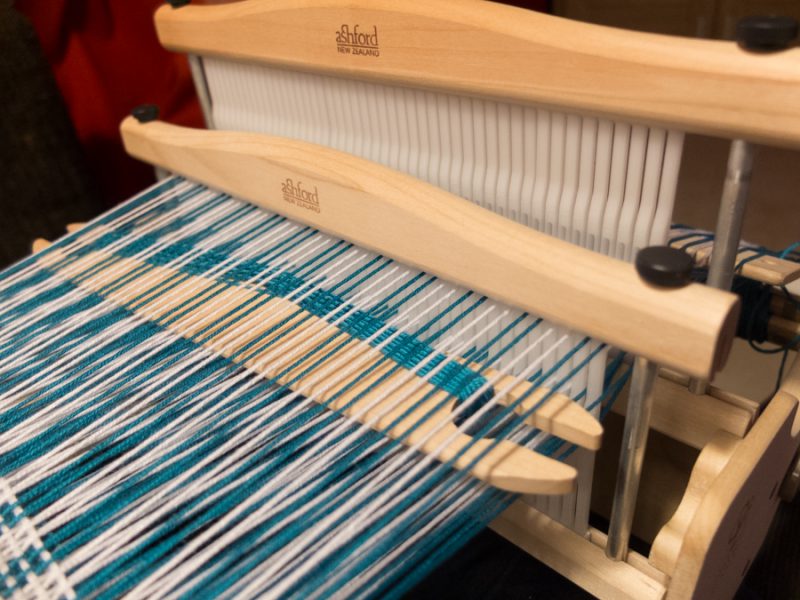
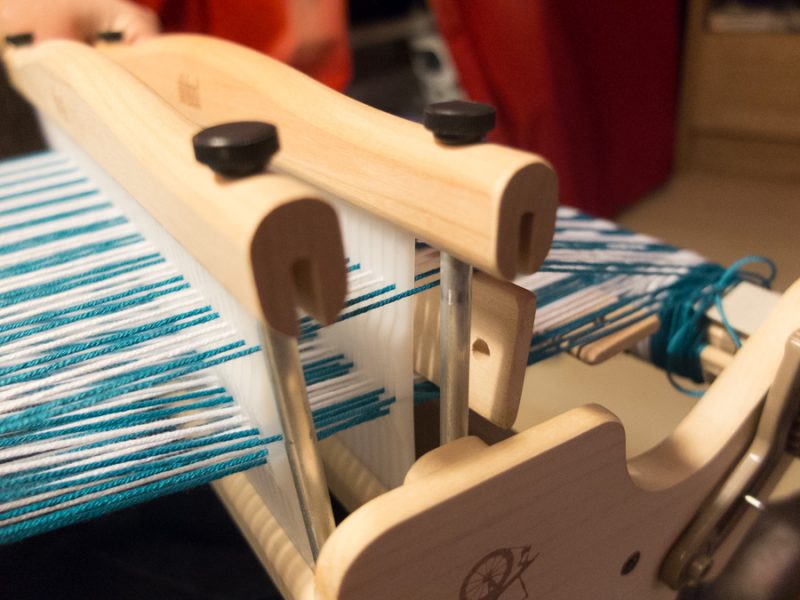
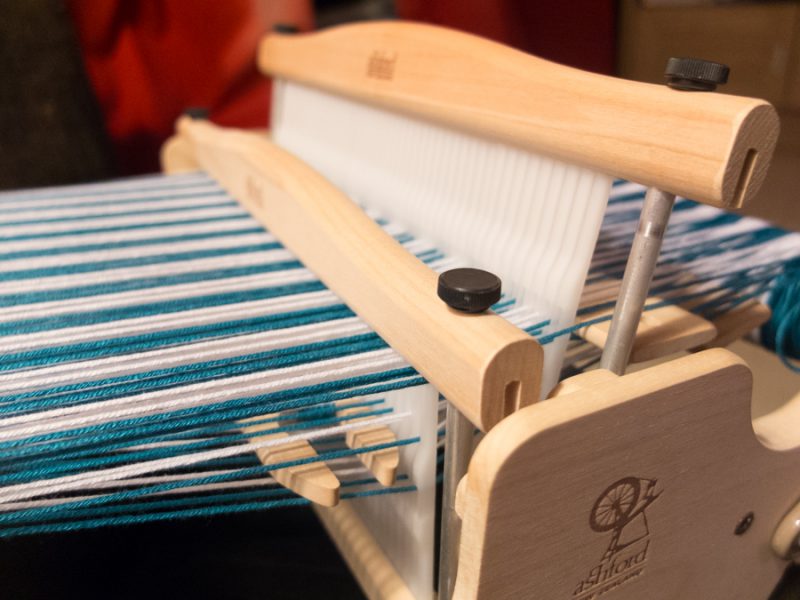
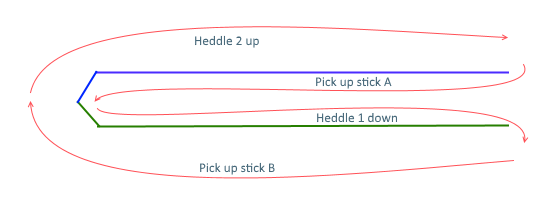
I started weaving. To create a double-width fabric, you have to connect the two layers that you are weaving on one side. The top layer is managed by heddle 2 (back) and pick up stick A, and the bottom layer is managed by heddle 1 (front) and pick up stick B. The fabric is connected on the opposite side of where you start weaving (I started weaving from right to left, and the connection is on the left side).
I used the following sequence for double weaving. The heddles/pick up sticks are in neutral position if not mentioned.
- Pick up stick B on edge (bottom layer)
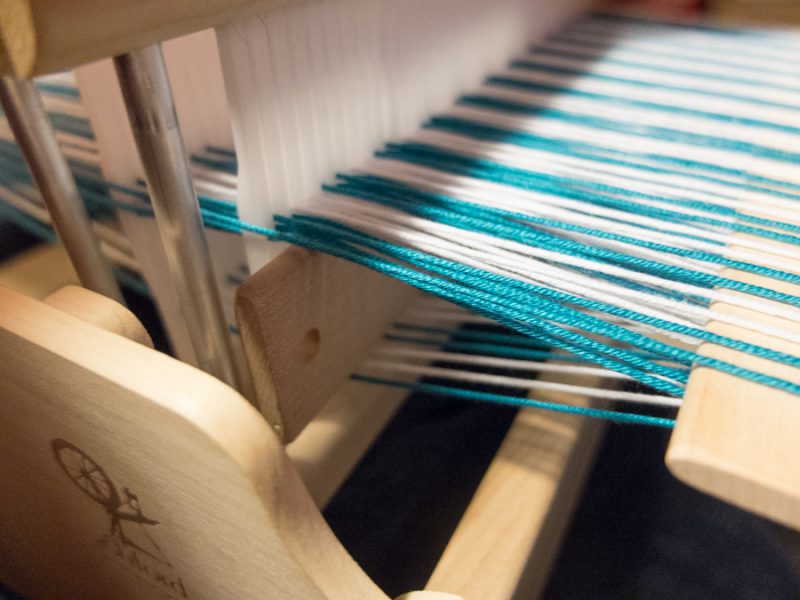
Back view - Heddle 2 up (top layer)
Front view - Pick up stick A on edge (top layer)
Front view - Heddle 1 down (bottom layer)
Front view
You are basically working in a C-shape:
Perhaps a video makes it easier:
After weaving a couple of rows, check if the fabric is connected correctly. You should be able to pick up one of the sides, uncovering the layer below.
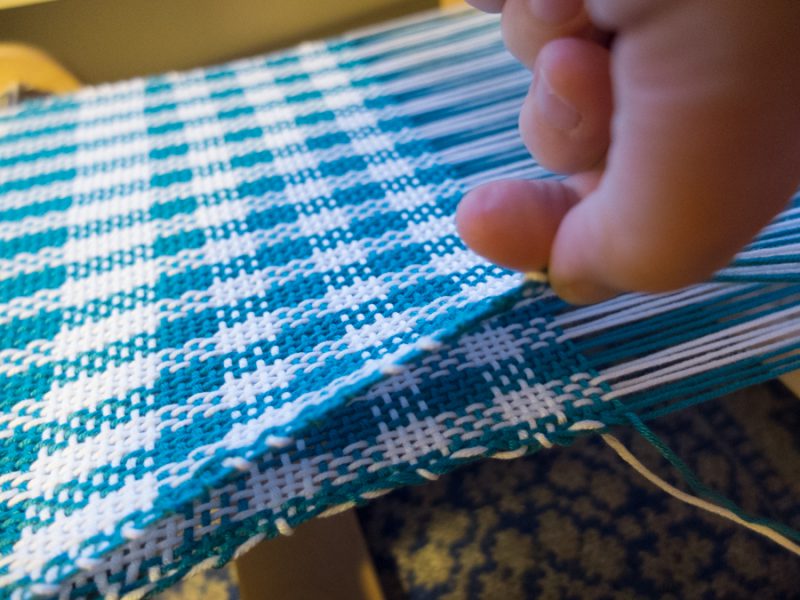
While weaving, you have to take care to not weave too tightly. I pulled the thread a bit too much, and my fabric started to become narrower.
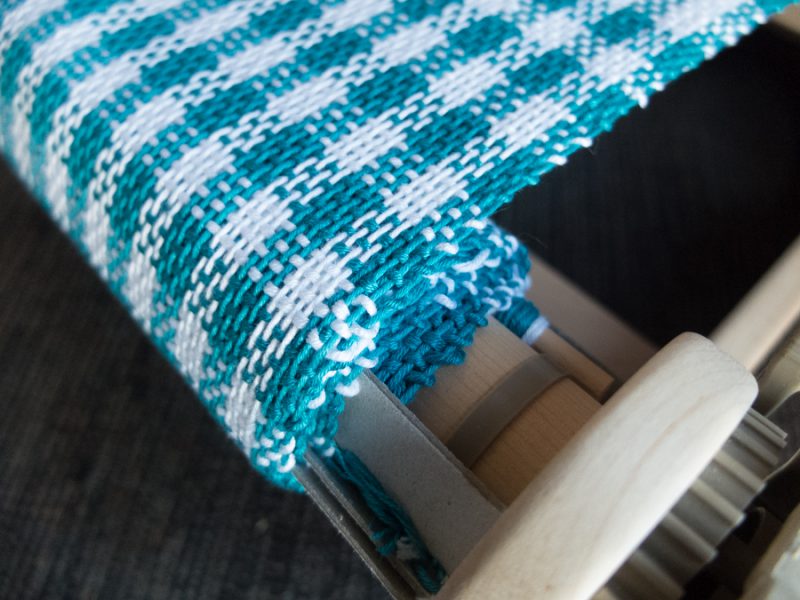
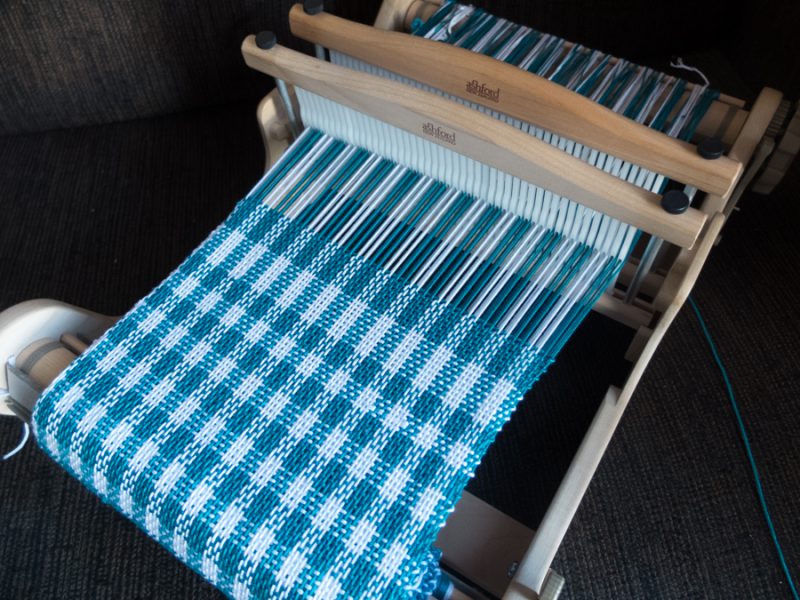
Finishing
Cut off the warp, leaving long ends for now. You will trim them later.
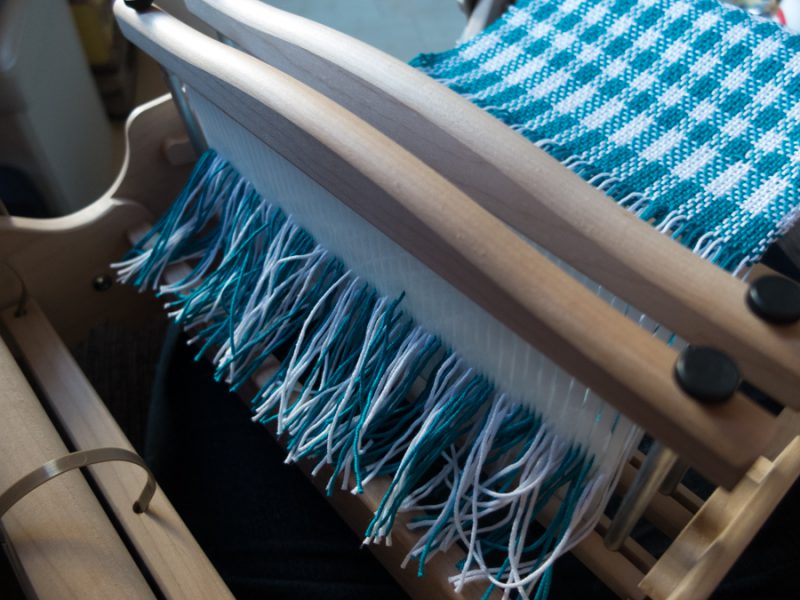
Start knotting the fringe, because you’ll want to make sure that everything stays in place. Start with the top layer, then move on to the bottom layer. Make sure not to tie the two layers together.
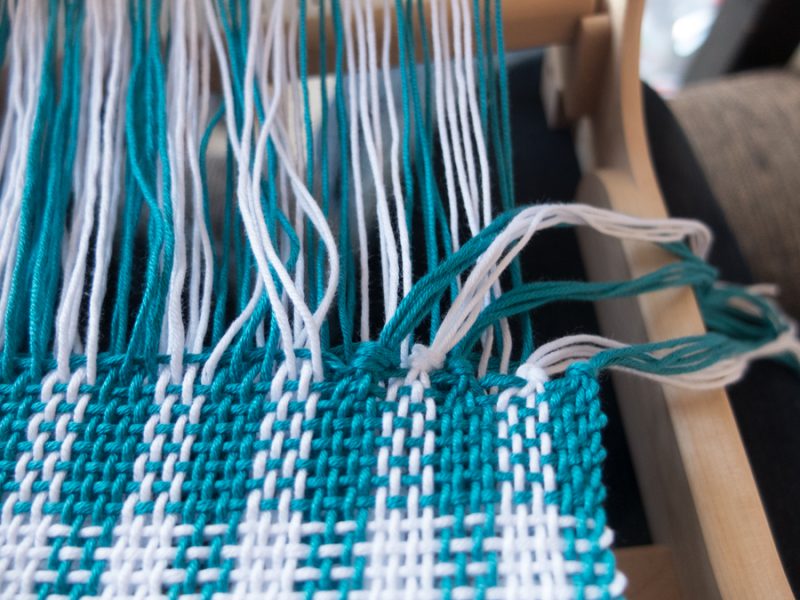
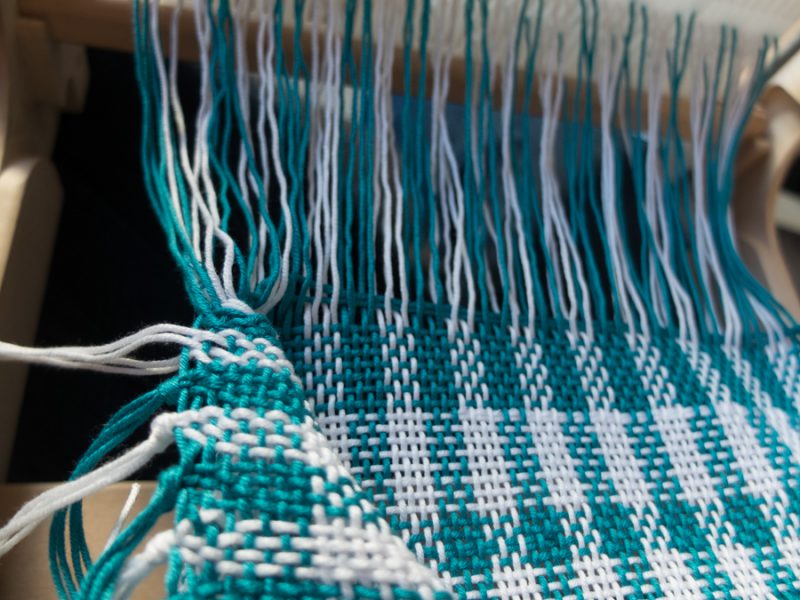
Unwind the fabric. Untie the knots at the beginning, and knot up the fringe there as well in a similar fashion. Cut the fringe to the length you like. That’s it, you’re done!
The moment of truth.
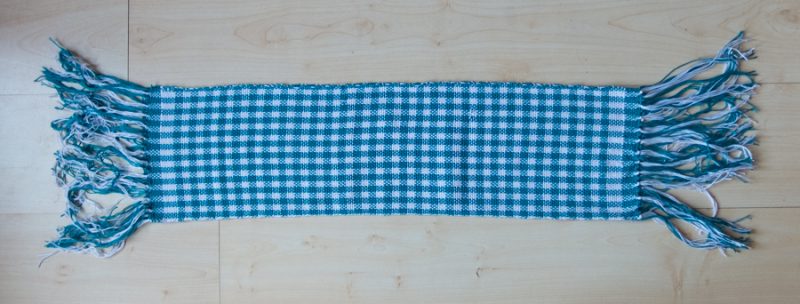
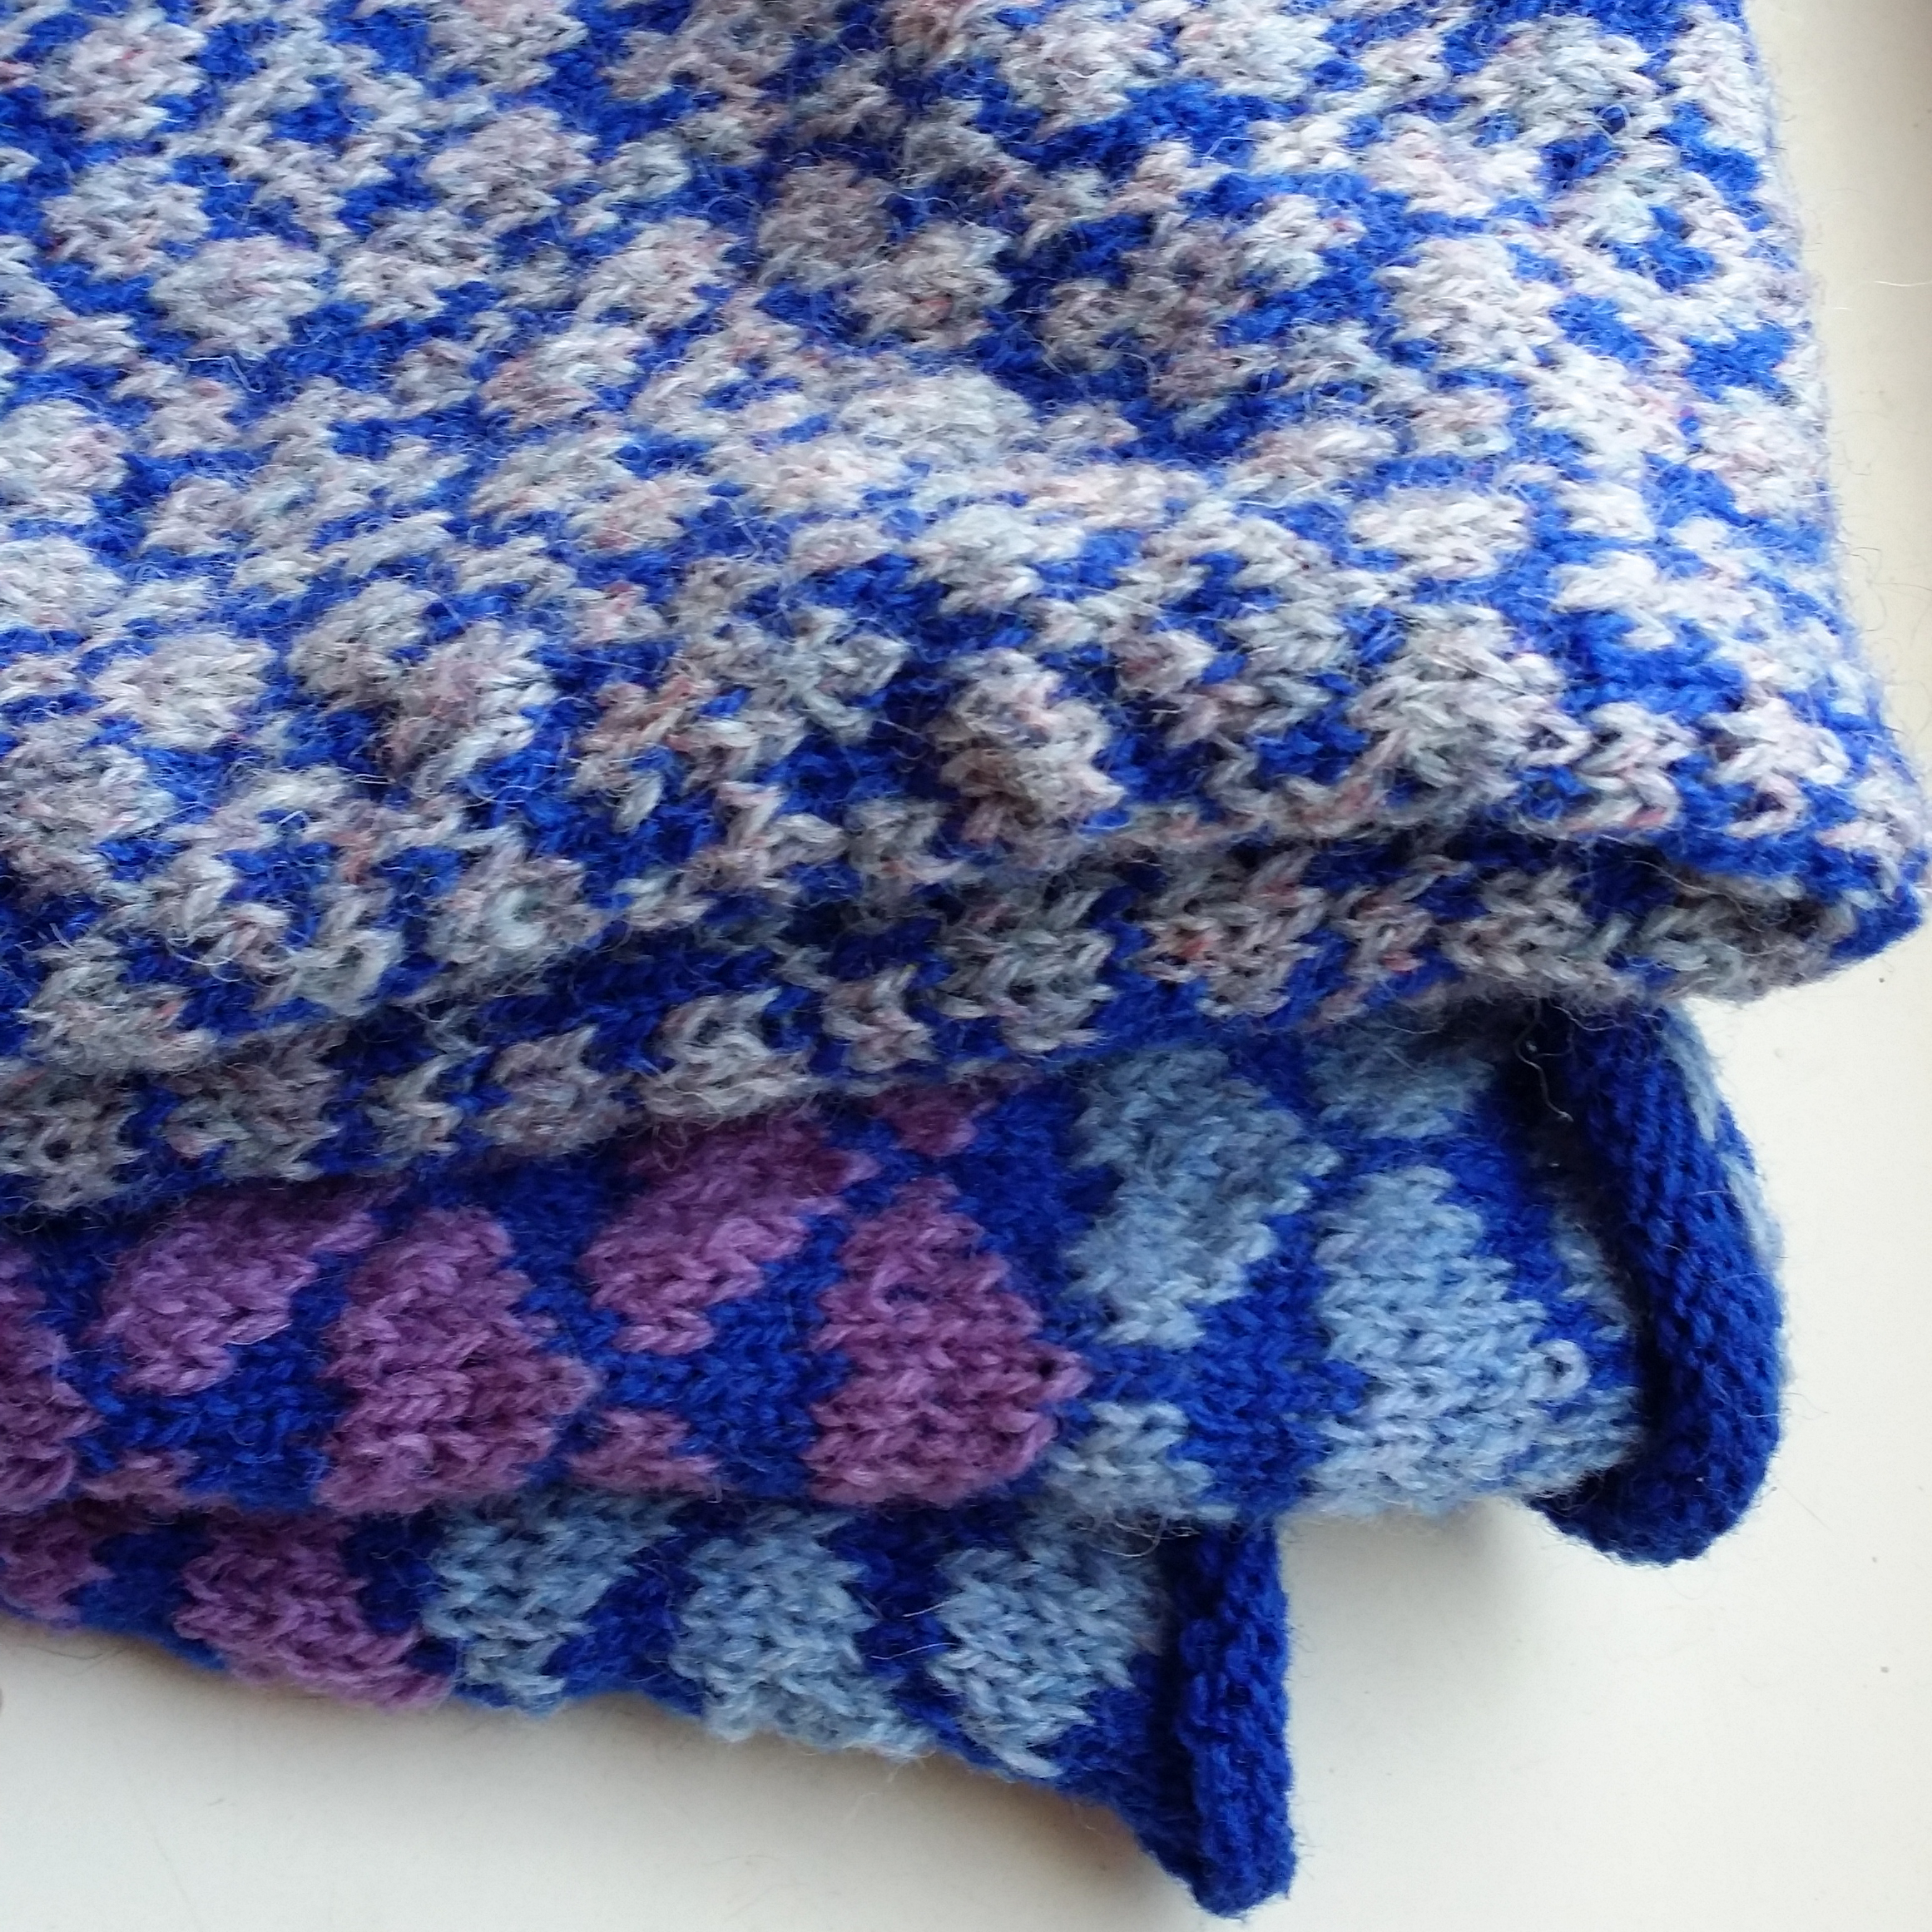
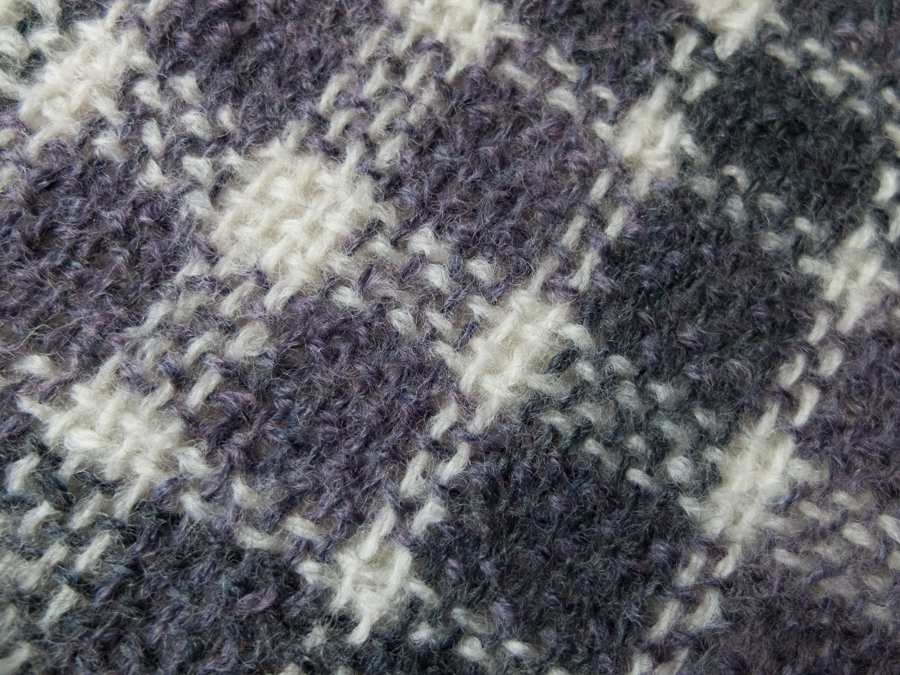
I opened the fabric and was relieved to find that the bottom layer looked okay! The bit in the middle was a bit too tight, though. Perhaps that can be fixed by washing.
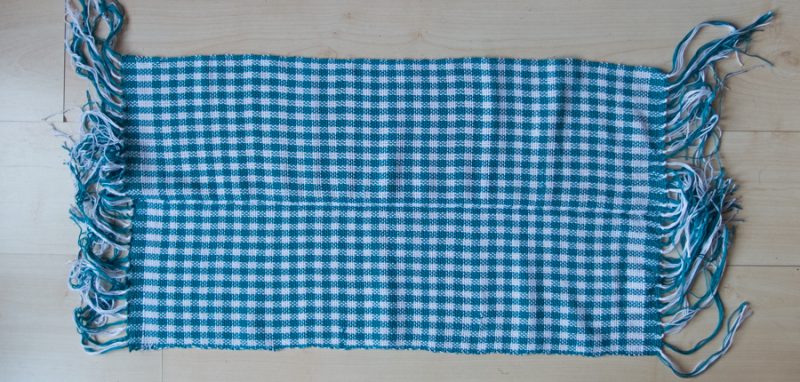
I don’t know yet what I will do with the fabric. It may become a project bag at some point. This won’t be the last time that I weave double width! Once I started weaving, it became easier and I got into the rhythm of it. I just need to allow some more space at the connection point next time.
this is so great! I was flumoxed by the idea of weaving a double weave, but you made it all so simple. I am eternally grateful!
Beautiful double weave!
hello, What is the method to change color? Which side should we change to? thank you
Gracias,quidro practicar yaa
With pick up stick A, pick up every other thread (the ones that don’t go through a slot in either heddle).
Slot or hole? The diagram doesn’t show any thread that doesn’t go through a slot in either heddle.
Also is it easier to do the initial 4 thread warp through the slots instead of holes?
I guess that I may have this backwards, but in my mind, the holes are between the dents of the heddle, and the slots are in the dents.
I will update this post because I just found out that slots and holes are the other way around than I thought :-S
Thank you for making me aware of this mistake!
Ah well
I think of Slots as Slits
Lol.
Great post though. Going in for first of many double width weaving.
Keep warping! ?
Great! Have fun with double width weaving 🙂
Think you did great on this! I watched a great video to thread but no one else taught how to place the pick up sticks. Between your video and written instructions I am ready to start.
Thanks so much.
Thank you. I’m glad I could be of help to you 🙂
Good luck with your weaving project!
Excellent tutorial for double weave on a rigid loom. I have a question about the variable dent reeds you are using, I’ve never seen them with enough dents all in the same size, did you buy and extra set of dents only?
Thank you!
I actually bought three sets, because I love weaving with two reeds. One set only covers part of the reed (20 cm) for each dent size, and with two sets you can create one reed with any dent size you want. I bought another set later so that I can fill two reeds with any dent size. I did notice that the standard reeds sometimes have one or two extra dents compared to the combined sections of the variable dent pieces, so I did cut up some of the sections to compensate for that. I have 60 cm of dents for each size, and two reeds only need 25 cm each, so that was no problem.
thank you for responding so quickly that really helps a lot. my goal is to expand into two or even three heddle weaving and since the dents are so expensive i would like to make the most cost effective purchase – i live on a very tight budget. while buying 3 variable dents initially sounds like a lot of money you are right – it’s the best way to go. i’d rather have 3 variable dents that can become what i need them to be instead of buying three 10 dent, three 12.5 dent, and three 15 dent.
I look forward to seeing more of your work in the future, i feel so lucky to have found your site yesterday
Thank you, thank you, thank you!!! I have been struggling with this for quite some time. You should make a you tube video! I finally able to do this thanks to you!
Yay! I’m so glad that I could help you 🙂
Happy weaving!
Can this been done on a Cricket loom?
I’m not sure, there doesn’t seem to be a double heddle kit for that loom. But if you have enough space, you may be able to do it regardless. I found an article in which two heddles are used on a Cricket loom: https://www.weavezine.com/content/double-heddle-bookmarks.html
I use an extra (third) heddle on my Ashford SampleIt, and it’s quite possible, even though there’s little space.
I hope you can make it work!
Hello,
I have been trying to figure out this odd number of warp strings thing. some video show to take one out, some have no mention of it. I see in your video that you have a blue string hanging out the back. Is that a warp thread that’s been removed? The other question is, I have 1 single thread through a slot on the left, and on the right there are 2 in the last slot. does it matter which string is removed? one end or the other? or just pick one? Sitting here looking at my loom scratching my head lol.